
Good morning and Happy Choosday everyone, yes it's

again already. And I'm a year older, where does the time go, this time next year I'll be 50, wow, I swear it's only a couple of years since I was 21 lol
Anyhoo, onto today's challenge from the Digi Choosday blog. This week we challenge you to use some Kraft card. Now if you are a regular follower of mine you will know I love Kraft card and use it a lot. So this seemed the perfect challenge for me to do a tutorial. I'm going to show you how to extend a border die, and show you how I put the whole card together. So this post if picture heavy so you may want to grab a cuppa while you're looking and reading.
This is what I am going to show you how to make.


So to start with choose what you are going to use on your card, so your image, your papers and card layers. Use your border die on the piece of card you want it on. As you can see the die isn't long enough for what I want so I need to extend it.

To do this I lay the die on it's back and slide the card over it until I feel it "lock" into the design.

Carefully hold in place, turn over and tape into place so it doesn't slip in the die cutter.

Run through your machine and there you have it, it's as easy as that. If you don't want to ruin your piece of card if it's the first time you're trying this, try it with copier paper a few times first.

Then stick down your designer paper leaving the border showing.

So now I have all the layers I need, the extended border piece and my coloured image. The cute image is Smile from the adorable Sticks and Bones collection. You can get the image HERE on her own, or you can get the full collection HERE.

Because I'm using Kraft card I decided it also called for some distressing of the papers. You can use whatever you like to do this with, you can use a metal file or an emery paper one.

Here are all the edges distressed.

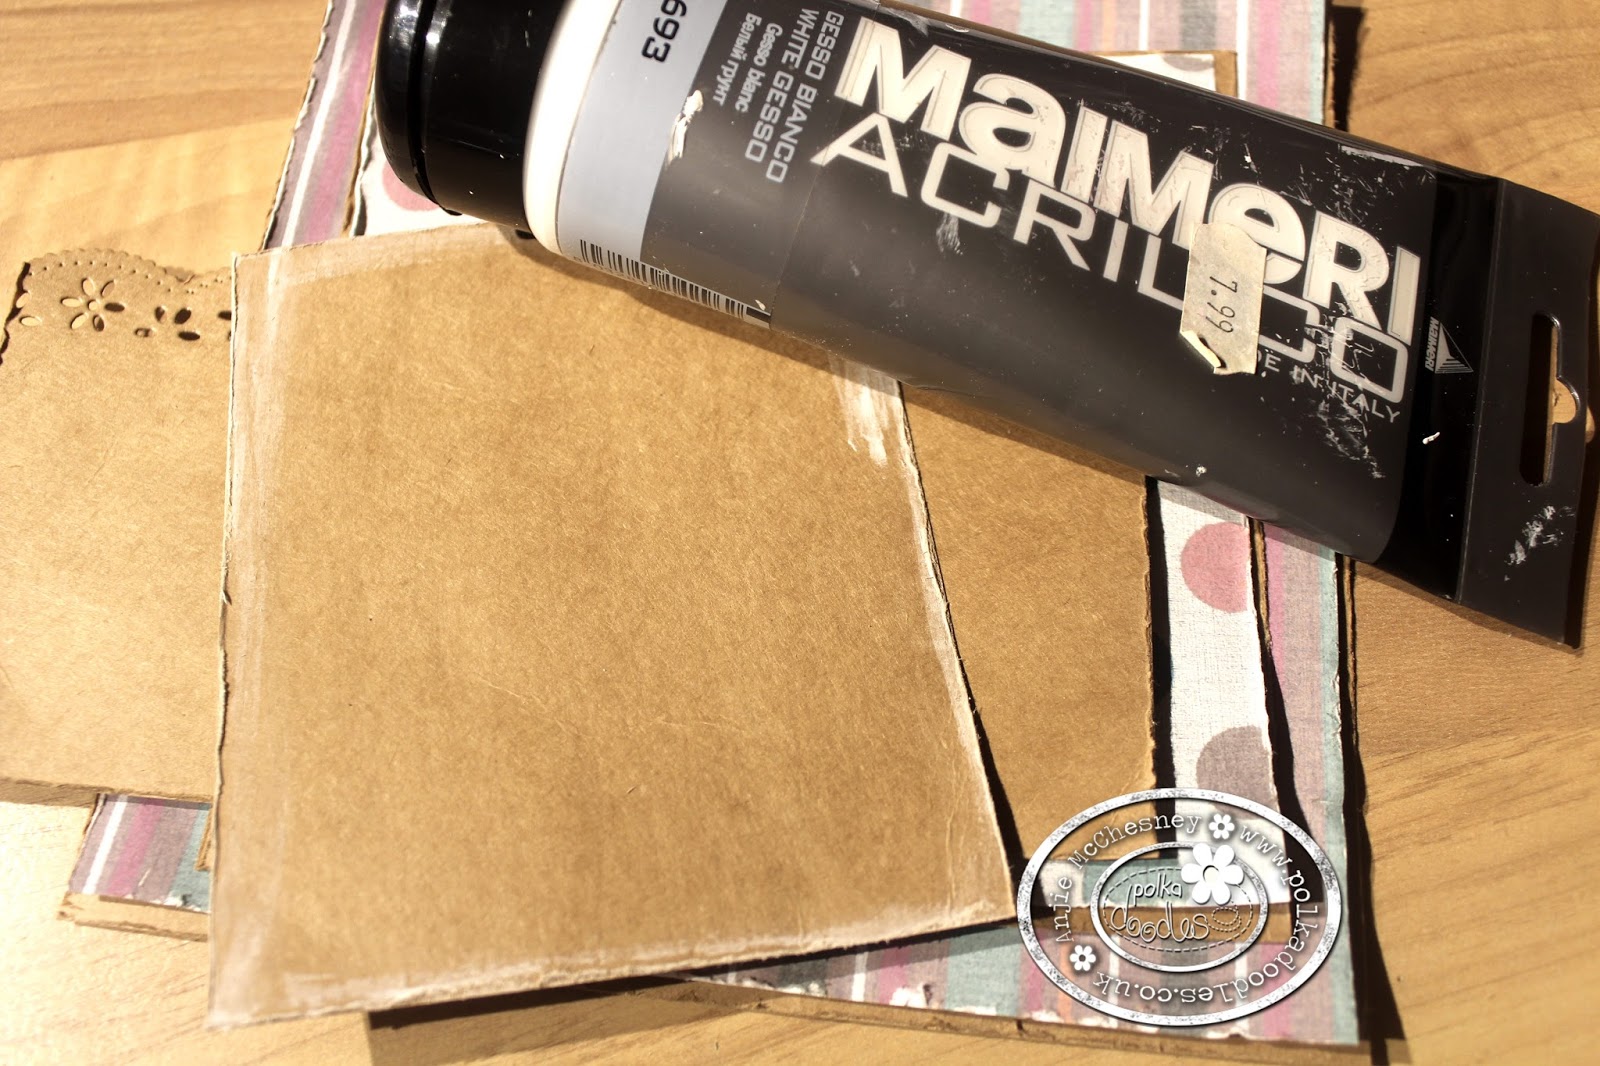
I wanted the give them a more aged look as well so instead of the usual distress inks I decided to use some Gesso. I just put a bit on my finger and rubbed it around the edges of all the card and paper layers.
If you don't like getting messy you can use a brush if you like.

Then with a fine liner pen I added my usual scribbled lines around everything. Something else I love and have done for years lol

Then stick everything in place and you have your card.

I have added a few die cuts, a message, some pearls, some lace and some raffia tied in a bow to finish it off.
 |  |  |


I really love how you mix layers and layers, always in a perfect match. Thanks for the tutorial.
ReplyDeleteGreat tutorial, Anjie and a fabulous card! Loved seeing how you put all those gorgeous elements together! xxx
ReplyDeleteFab design, gorgeous colour scheme and a great tutorial.
ReplyDeleteI love this layout Anjie and the amount of amazing detail you have included on each of the layers. Thanks also for the brilliant tutorial. Hugs:) Audrey
ReplyDelete