SCWA

Powered by FundRazr

Pages

Followers

Showing posts with label Altered art. Show all posts

Tuesday, 4 October 2016

2 or more images

Good Morning and Happy Choosday everyone, and that of course means that yet again it is
as well. Are the weeks going faster as we approach the back end of the year? Or is it just because I'm getting older?
After you're done here don't forget to go over to the Digi Choosday blog to grab the code and of course check out my talented teamies makes.
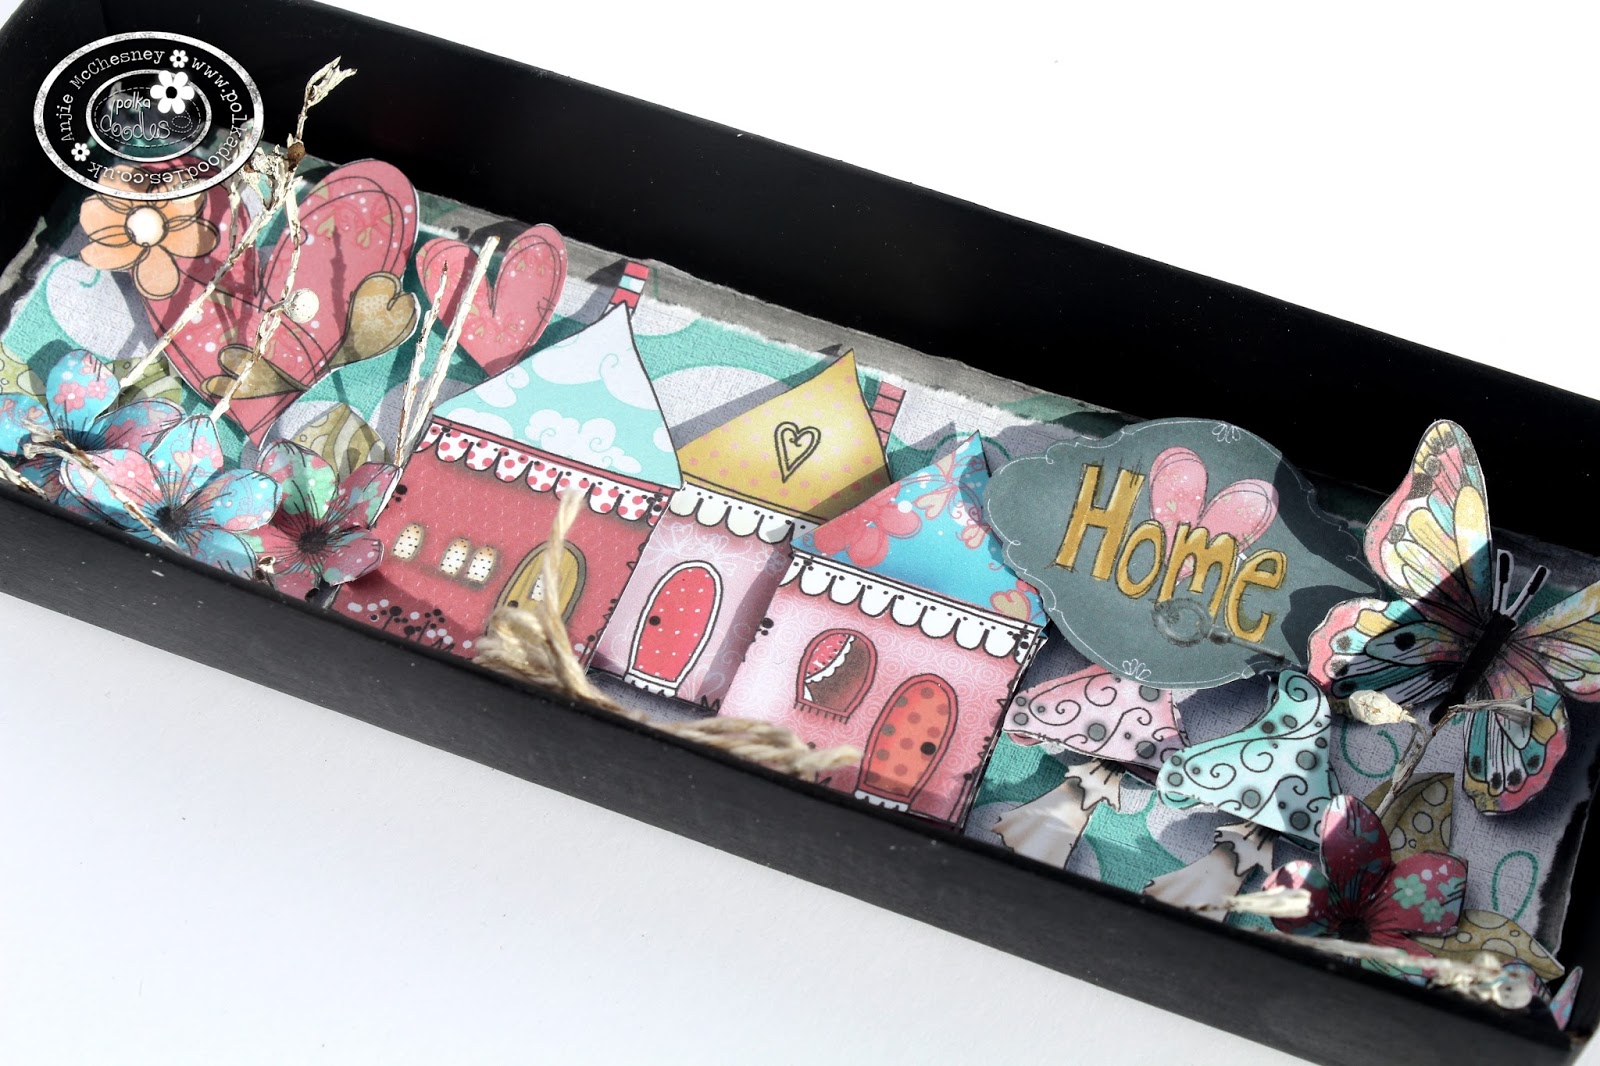
This week the team were challenged to use two or more images and here is my make.
 I have used 5 images from the fabulous new Festive Christmas collection. So you can see the 2 gingerbread people, the poinsettia, the foliage and the gingerbread house. I made this by cutting a bauble shape out of a piece of chipboard. (I used the back of a paper pad for this) I glued a piece of paper from the collection to both sides of it and distressed the front side with a file and then put some modelling paste around the edges. I then rolled up some spider web and glued it diagonally across the back. Then I laid some bakers twine across that in a loop. I then fussy cut all the images leaving a white border around them to make then stand out a bit more. I added some sparkly snow to the flowers and foliage, and to the roof of the gingerbread house. I then put 3D foam on the back of everything and arranged on the bauble and then stuck them all in place once I was happy with the arrangement. I used a piece of string to hand the bauble with as I thought it went with the theme. I am going to me making lots of these as I love them so much. I may even give some as gifts to some lucky people! Here is a close up of the layers.
Righto, that's it from me for today. But don't forget to pop over to the blog for the massive discount code for today and of course to check out my teamies makes.

I'm entering this into the following challenges:
Artistic Inspirations - ATG
Craft-Dee-Bowz - ATG with a handmade bow
Crafting From The Heart - ATG
Craft Your Passion - ATG

Tuesday, 27 September 2016

Christmas blues

Good Morning and Happy Choosday everyone, and that of course means that it is
as well. So after you're done here don't forget to go over to the Digi Choosday blog to grab the code and of course check out my talented teamies makes.
The challenge for you is of course anything goes but for the team this week the challenge is Christmas decorations in Blue and White, and here is my make.


This started out life as a plain chipboard decoration shape. I used  Octavia Frosted Winter to create it, along with the help of some frosted snow from Embellishment attic. I covered the base with one of the papers and roughed up the edge with some sandpaper. I then painted a line of white Gesso around the edge. I then sat for ages and fussy cut all the embellies I wanted to use. I then added some of the frosted snow where I wanted it. I had a play around with where to place the embellies until I was happy with where they were before gluing them all in place.
I have to admit when this was finished and I stood back to look and make sure I was happy with it I did a little squeal as I really loved it. That doesn't happen often with me so when it does it makes me very happy lol

I'm entering this into the following challenges:


Tuesday, 30 August 2016

Back to School

Good morning and Happy
Did you notice our posting time has changed? Well we realised that our Australian and New Zealand crafters weren't getting much time to use our fabulous discount code with the mahoosive time difference. So to try and make it fairer we now got live at midnight so everyone has more of a chance to use the code, as it only lasts for 24 hours. So don't forget to pop over to the Digi Choosday blog to grab your code for today after you've finished here.
Now onto this weeks challenge. For you it is of course Anything Goes, but should you wish to follow our challenge it is Back To School and here is my make, or makes.

 This started out life as a plain Kraft chipboard. I used my go to collection for this make which of course is the fabulous Picknix 1 collection. You can also get this on CD should you wish HERE. Or in separate smaller collections HERE. So I started by covering the edges of the board with white Gesso before trimming the paper and gluing in place. I then brushed some Gesso over the edges of the paper and added some faux stitching after it had dried. I then used the little bubble stamp from the Celebrations Stamp set. I then cut out some letters, numbers and an apple and glued them on. I then added some of my own text over the blackboard embellie. Finally I added some tape measure ribbon along the bottom with loops to hold some pens, pencils etc. And a piece as a further something.
Here is the board without the pens in.
I then also decided to make a card to match this so then printed out another apple embellie but larger to use as a topper.

Friday, 29 April 2016

Swirls and Flourishes

Good morning everyone, did you manage to catch Nikky's show on Create and Craft on Wednesday? If not you can catch it HERE. It's well worth a watch as there are some fabulous new products on there that you won't want to miss!
So today I have some mid challenge inspiration for you from the challenge at the Polkadoodles challenge blog that started last week, and the challenge is "Swirls and Flourishes" and here is my make.
I've used the fab new Little Kingdom collection that was on the show on Wednesday. The whirls and flourishes are on the fabulous toadstools and I have added some dried flowers as added flourishes to the little scene. To create this I used a box that had some little shot glasses in and started off my painting it black to frame the lovely bright colours I knew I was going to use. I cut out lots of flowers, embellies, toadstools and houses. I layered up some of the items to make them pop out. Then I decided on the arrangement in to box and stuck everything down with either 3D foam or glue. I added some Wink Of Stella pen to the butterfly and home sentiment to make them sparkle. I then added some dried flowers along the bottom of the box and behind the flowers. Finally I finished it off by adding a bow of bakers twine.
Here are a few close ups for you to see the detail better.


I'm entering this into the following challenges:

Thursday, 19 December 2013

Studio 12 Christmas bunting

I've been really looking forward to putting this up in the house as I love it so much. Is that vain to like your own make? lol
 This started out life as plain MDF triangles from the MDF man. I knew straight away what I wanted to do with it. All the papers and embellishments are from the fabulous Studio 12 CD-rom Picknix Collection 2 Gingerbread Twist. I glued all the papers on and used a distress ink around the edges to give it an aged look. I then added some faux stitching with a white opaque pen. I then cut out all the embellishments and also aged them with the distress ink and glued in place. I threaded string through to hang it as I thought ribbon would look odd with it having an aged look. It is now in pride of place behind the bar in our party room. Here are a few close up shots.

I will treasure this and it will be brought out every year.

Thursday, 12 September 2013

Studio 12 altered clip board

Hello everyone, I'm back with another Studio 12 make today.

I'm just loving this new range of stamps which you can find here, and this is my latest make with them.

I've had this clip board for years and it was just shoved in the back of a cupboard, unused and unloved. Now it is on my desk and in use! I painted a base coat of Maimeri White Gesso , then added some distress ink around the edges. I then got to work with the stamps, some I have stamped straight onto the board, others I stamped onto card, cut them out and stuck them on. I have used the Art Girl, Chimney House, Distressed Zig & Zag and the Shabby Owl Blossom  stamp sets. They are all coloured with the same distress ink pad I used to distress the edges of the board. I used some gilding flakes on the flower heads, added some lace, some bakers twine, some florists mesh and a ribbon to finish it off.

Sunday, 11 August 2013

Pirate door hanger

You all know how I am infatuated with a certain pirate,
mmmmmm, *swoon*. 
Well, there is a new pirate in town and I am loving him too! He is also called Jack and can be found on the fabulous Bonbon Belles CD at Polka Doodles.
I printed some images and papers out the other day and had a blank MDF door hanger,
and today I had some time to craft and this is what it turned into.
The images are coloured with Graph It markers. I slightly distressed and inked the edges of the papers and added some faux stitching. I then remembered I had some seaside themed charms so dug them out and added them onto the hanger to give some dimension. What do you think? I'm really pleased with how it turned out!

And incase you didn't know just how obsessed I am with Captain Jack Sparrow here is a photo of the tattoo I have of him on my leg.

Tuesday, 25 June 2013

Altered box

Hello all, it's my turn today to do a Studio 12 post.
I've got lots of costume jewellery and bangles that were in desperate need of a nice home, so I bought some paper mache boxes and got busy. The papers and embellishments are all from the fabulous Studio 12 CD-rom Picknix Collection 1. For the sides and the inside I cut the papers into squares and glued them in place. For the lid I cut the papers into triangles and stuck in place. I then cut out all the embellies and added them. I finished it off by adding some faux stitching.

Now I am going to know straight away where all my bracelets and bangles are!

Tuesday, 13 March 2012

More frames

Good morning all. As promised yesterday here is another of the frames I worked on over the weekend. This is available for sale at £10 each plus P&P
This one has 3D layered butterflies on with added bling. The Mum can be removed and something else added, i.e. friend, sister, daughter.
I'll be back tomorrow with some cards that I am working on a the moment.

Monday, 12 March 2012

Something a little bit different

Hello bloggers, I hope you've all had a lovely weekend and enjoyed some sunny weather like we have up here.
I've been working on things for Mothers day pressies over the weekend and thought I'd share a few of them with you.
I've done this for my mum, the photo is of my Grandma and Grandad taken on a family holiday in Skegness in the 1950's. The sentiment and hearts are from Stampin Up's Four Frames, I {Heart} Hearts and For My Family, and are stamped in Tempting Turquoise, and the butterflies were cut on my Silhousette Cameo.
This one uses flowers from Stampin Up's Vintage Vogue, stamped in Real Red, a frame from Elementry Elegance and the butterfly from Strength and Hope. The photo is just for illustration purposes and can be changed for you or removed and a sentiment added.
I'll show you some more tomorrow.

Tuesday, 28 February 2012

Altered heart

I have a few days to myself this week as all the funeral arrangements are now made for Thursday evening and Friday morning so I will try to do a few things and get them on here.
Todays project is altered art. I picked up a couple of these wicker hearts as I thought they were screaming out to be decorated. I had a few hours last night so had a go at doing one and this is the result
I have used elements from My Craft Studios Jewel Brittania CD. The centre piece is embossed with clear embossing powder to give it a gloss finish, it is also decoupaged so has 3 layers on. The flowers are also layered and I've just thought that I will add some gems to the centre of them over the faux gems. I think I'm going to give this to my Grandma as I know she will like it and it would go lovely with the decoration in her bedroom.