
It's my turn to do a tutorial over at Studio 12 at Polka Doodles and I am going to show you how to make a shaped card using a die.
The papers and embellishments I have used are all from the fabulous Studio 12 CD-rom...Picknix Collection 1.
To start with choose the die you want to use and a card blank that is just smaller than the height of the die.

Lay the die over the top of your card blank so the top of the die hangs over the top of the card. I have also chosen to have it over the edge at the bottom as well as this die wouldn't stand up.

Pass through your die cutting machine and you will now have to shaped card.

To make up your card chose a paper and use the next size die to cut out the paper.

Trim the top and bottom of the die cut paper to have straight edges at the top and bottom to match your card blank.

Next choose all your embellishments and cut them out.

I then used a distress ink to ink the edges of the card, the paper and all the embellishments.

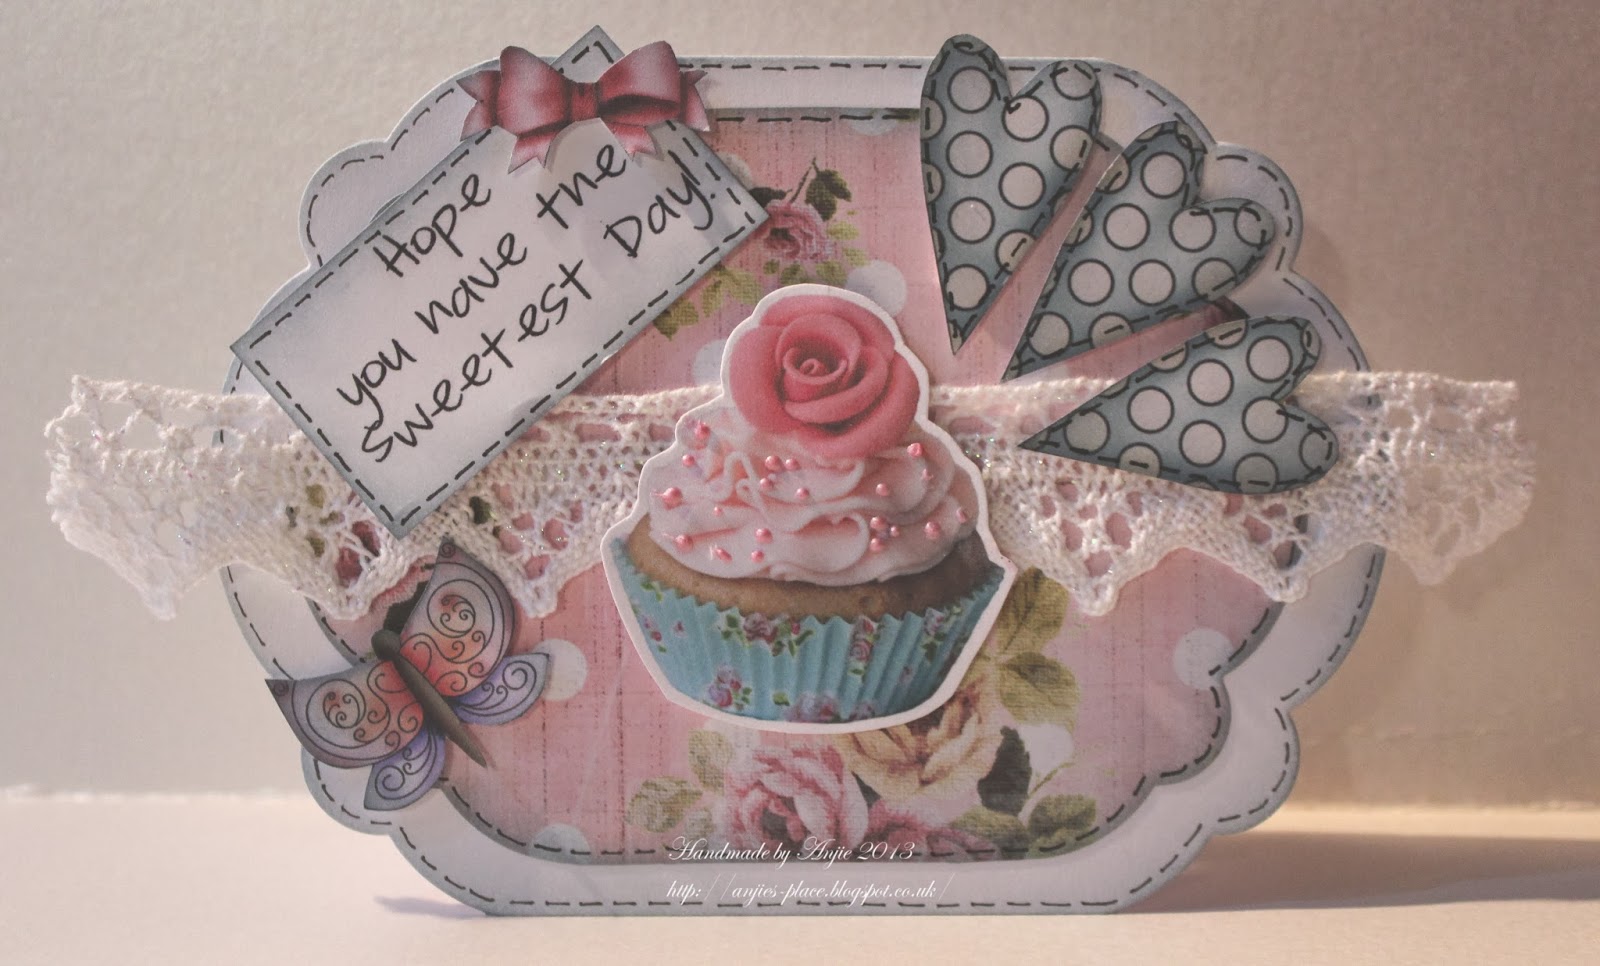
And finally put your card together. I added a bit of lace and some faux stitching around the edges of everything.
I hope you found this useful and will try it out.


No comments:
Post a Comment