SCWA

Powered by FundRazr

Pages

Followers

Showing posts with label Tutorial. Show all posts

Tuesday, 3 May 2016

Use some Kraft Card

Good morning and Happy Choosday everyone, yes it's
again already. And I'm a year older, where does the time go, this time next year I'll be 50, wow, I swear it's only a couple of years since I was 21 lol
Anyhoo, onto today's challenge from the Digi Choosday blog. This week we challenge you to use some Kraft card. Now if you are a regular follower of mine you will know I love Kraft card and use it a lot. So this seemed the perfect challenge for me to do a tutorial. I'm going to show you how to extend a border die, and show you how I put the whole card together. So this post if picture heavy so you may want to grab a cuppa while you're looking and reading.
This is what I am going to show you how to make.

So to start with choose what you are going to use on your card, so your image, your papers and card layers. Use your border die on the piece of card you want it on. As you can see the die isn't long enough for what I want so I need to extend it.
 To do this I lay the die on it's back and slide the card over it until I feel it "lock" into the design.
 Carefully hold in place, turn over and tape into place so it doesn't slip in the die cutter.
 Run through your machine and there you have it, it's as easy as that. If you don't want to ruin your piece of card if it's the first time you're trying this, try it with copier paper a few times first.
Then stick down your designer paper leaving the border showing.
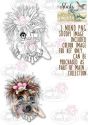
 So now I have all the layers I need, the extended border piece and my coloured image. The cute image is Smile from the adorable Sticks and Bones collection. You can get the image HERE on her own, or you can get the full collection HERE.
 Because I'm using Kraft card I decided it also called for some distressing of the papers. You can use whatever you like to do this with, you can use a metal file or an emery paper one.
 Here are all the edges distressed.
 I wanted the give them a more aged look as well so instead of the usual distress inks I decided to use some Gesso. I just put a bit on my finger and rubbed it around the edges of all the card and paper layers.
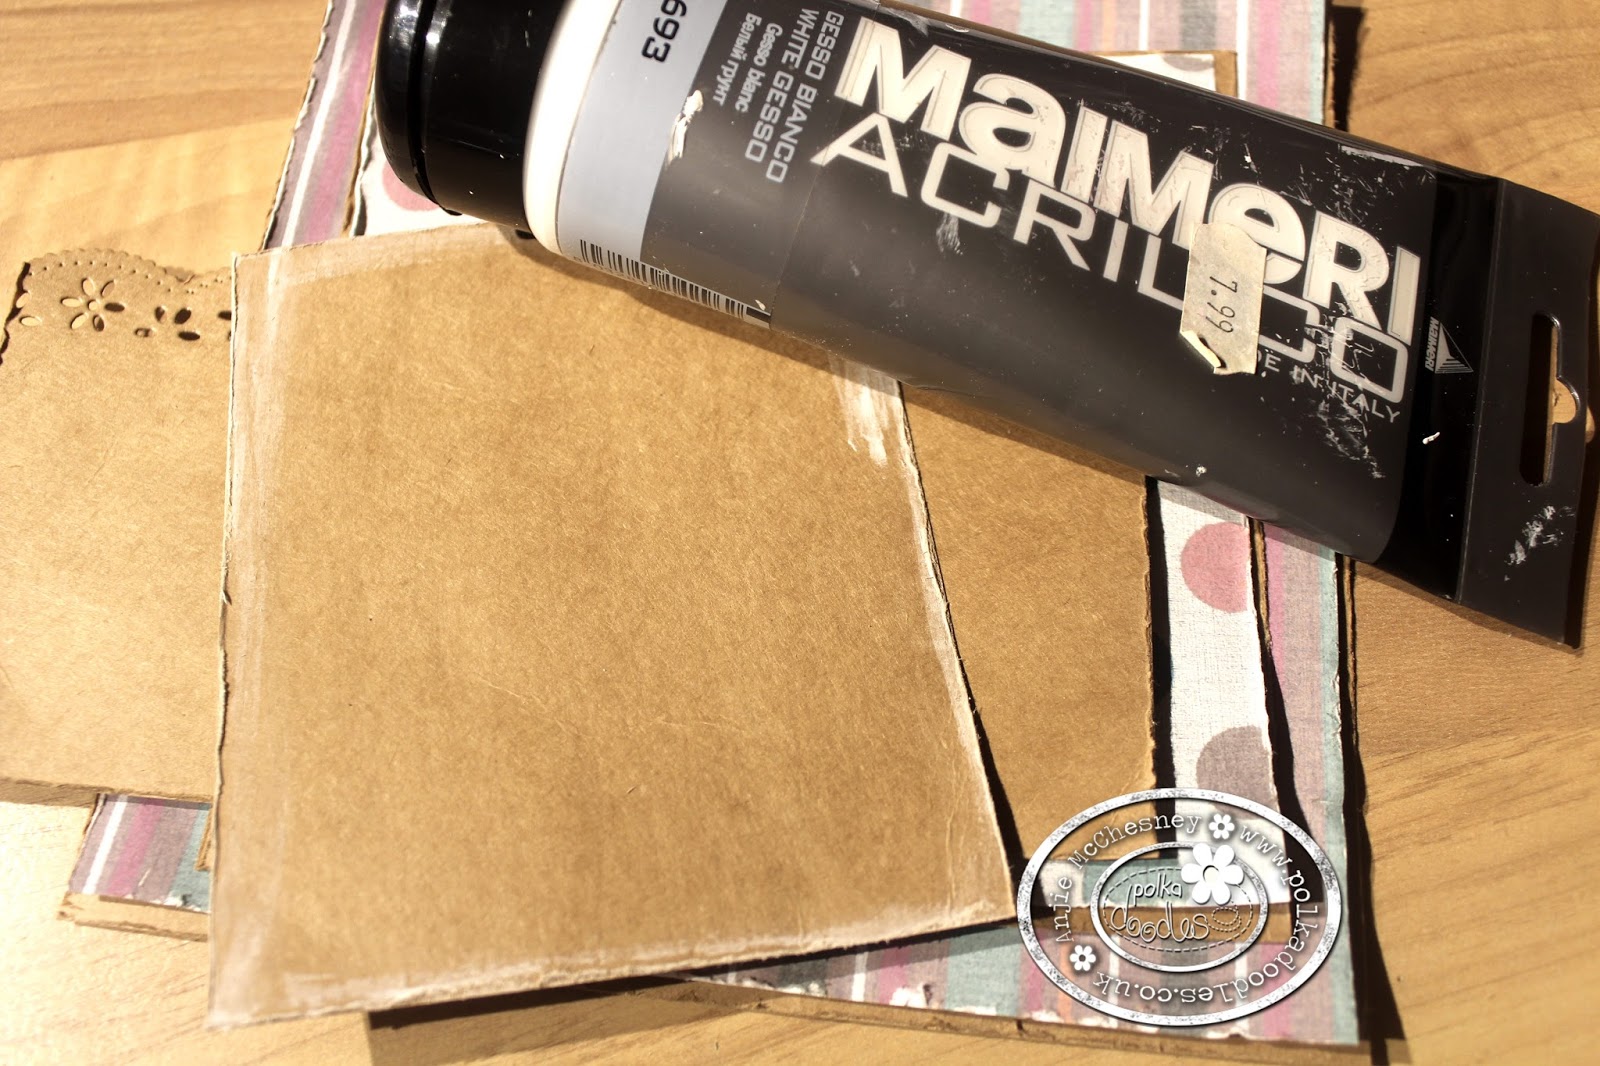
 If you don't like getting messy you can use a brush if you like.
 Then with a fine liner pen I added my usual scribbled lines around everything. Something else I love and have done for years lol
Then stick everything in place and you have your card.
I have added a few die cuts, a message, some pearls, some lace and some raffia tied in a bow to finish it off.
Thursday, 30 January 2014

Shaped card tutorial

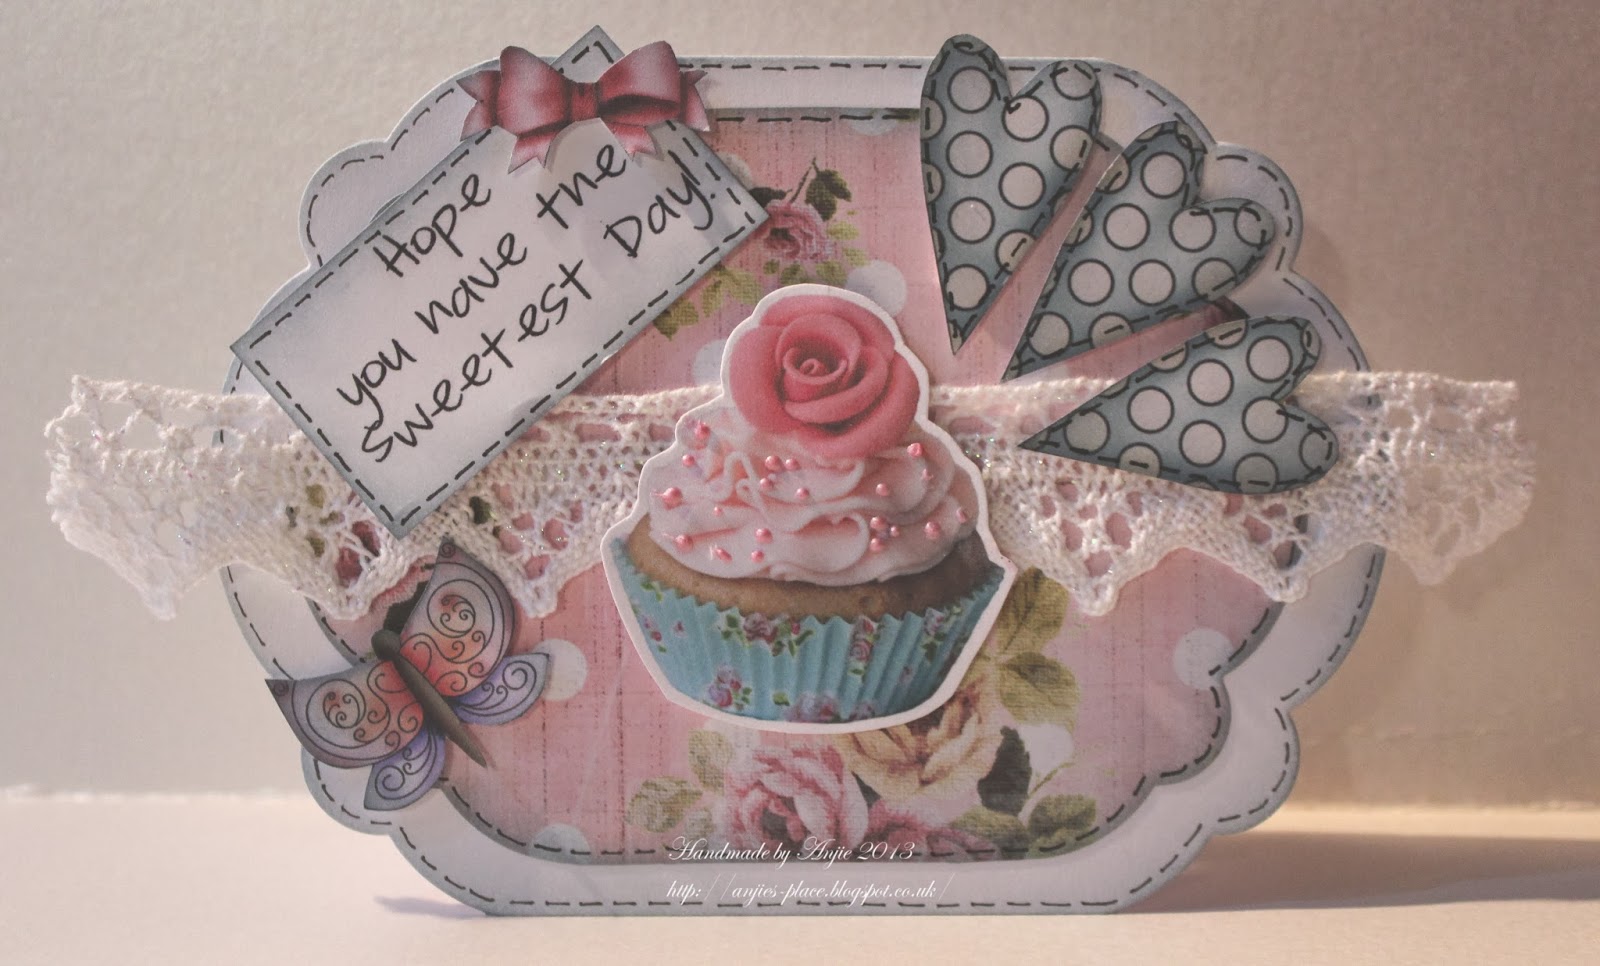
It's my turn to do a tutorial over at Studio 12 at Polka Doodles and I am going to show you how to make a shaped card using a die. 
The papers and embellishments I have used are all from the fabulous Studio 12 CD-rom...Picknix Collection 1.
To start with choose the die you want to use and a card blank that is just smaller than the height of the die.
Lay the die over the top of your card blank so the top of the die hangs over the top of the card. I have also chosen to have it over the edge at the bottom as well as this die wouldn't stand up.
Pass through your die cutting machine and you will now have to shaped card.
To make up your card chose a paper and use the next size die to cut out the paper.
 Trim the top and bottom of the die cut paper to have straight edges at the top and bottom to match your card blank.
Next choose all your embellishments and cut them out. 
 I then used a distress ink to ink the edges of the card, the paper and all the embellishments.
 And finally put your card together. I added a bit of lace and some faux stitching around the edges of everything.
I hope you found this useful and will try it out.


Sunday, 17 November 2013

Polka Doodles Tutorial week 46

Hi everyone, it's my turn to do the weekly tutorial over at Polka Doodles, and this week I'm going to show you how to make a shaped card if you don't have any dies or cutting machines to use.
With it being close to Christmas I have chosen to make a Christmas stocking card.
 
The image, papers and embellishments are from the fabulous A Home for Christmas CD Collection.
To start with I chose a paper I wanted to use and then searched the internet for a free stocking template in png format. The png format is just a line drawing with no white background. I put the paper into a graphic program, you could use MS Word if you don't have a graphic program, and then added the stocking template over the top.

I then chose a coordinating paper and the embellishments I wanted to use. I cropped the paper down to a thin strip to use on the top of the stocking.
 
I then printed all these out. Cut around the stocking shape and put the thin strip of paper over the top of the stocking and cut to size.

Then cut out the rest of the images.

I cut the sentiments and tickets down to size then used a distress ink around the edges of them all and the stocking. Then use a white pen to add faux stitching around them all. This gives the effect of the stocking being more realistic.

Then decide where you want to put all your images and glue in place.
 
Why not have a go at making one, they would make a great card for a male, which we all know are difficult to do!


Friday, 26 July 2013

A bottle hanger for your Christmas table. Polka Doodles challenge week 30

Good morning all. Did you know we now do a tutorial every week for you over at Polka Doodles.
Well this week it's my turn to do one for you and here it is.
I'm going to show you how to make a bottle hanger for your Christmas table for a bit of decoration. I've used papers and a topper from the fabulous Angelberry Christmas CD.
To start with I took one of the toppers into Word and added some text using a text box with no lines or background. 
 I then placed the text box over the topper creating my own topper.
Next you need a piece of Kraft card, some papers of your choice, a circle punch, a score board and a corner rounder.
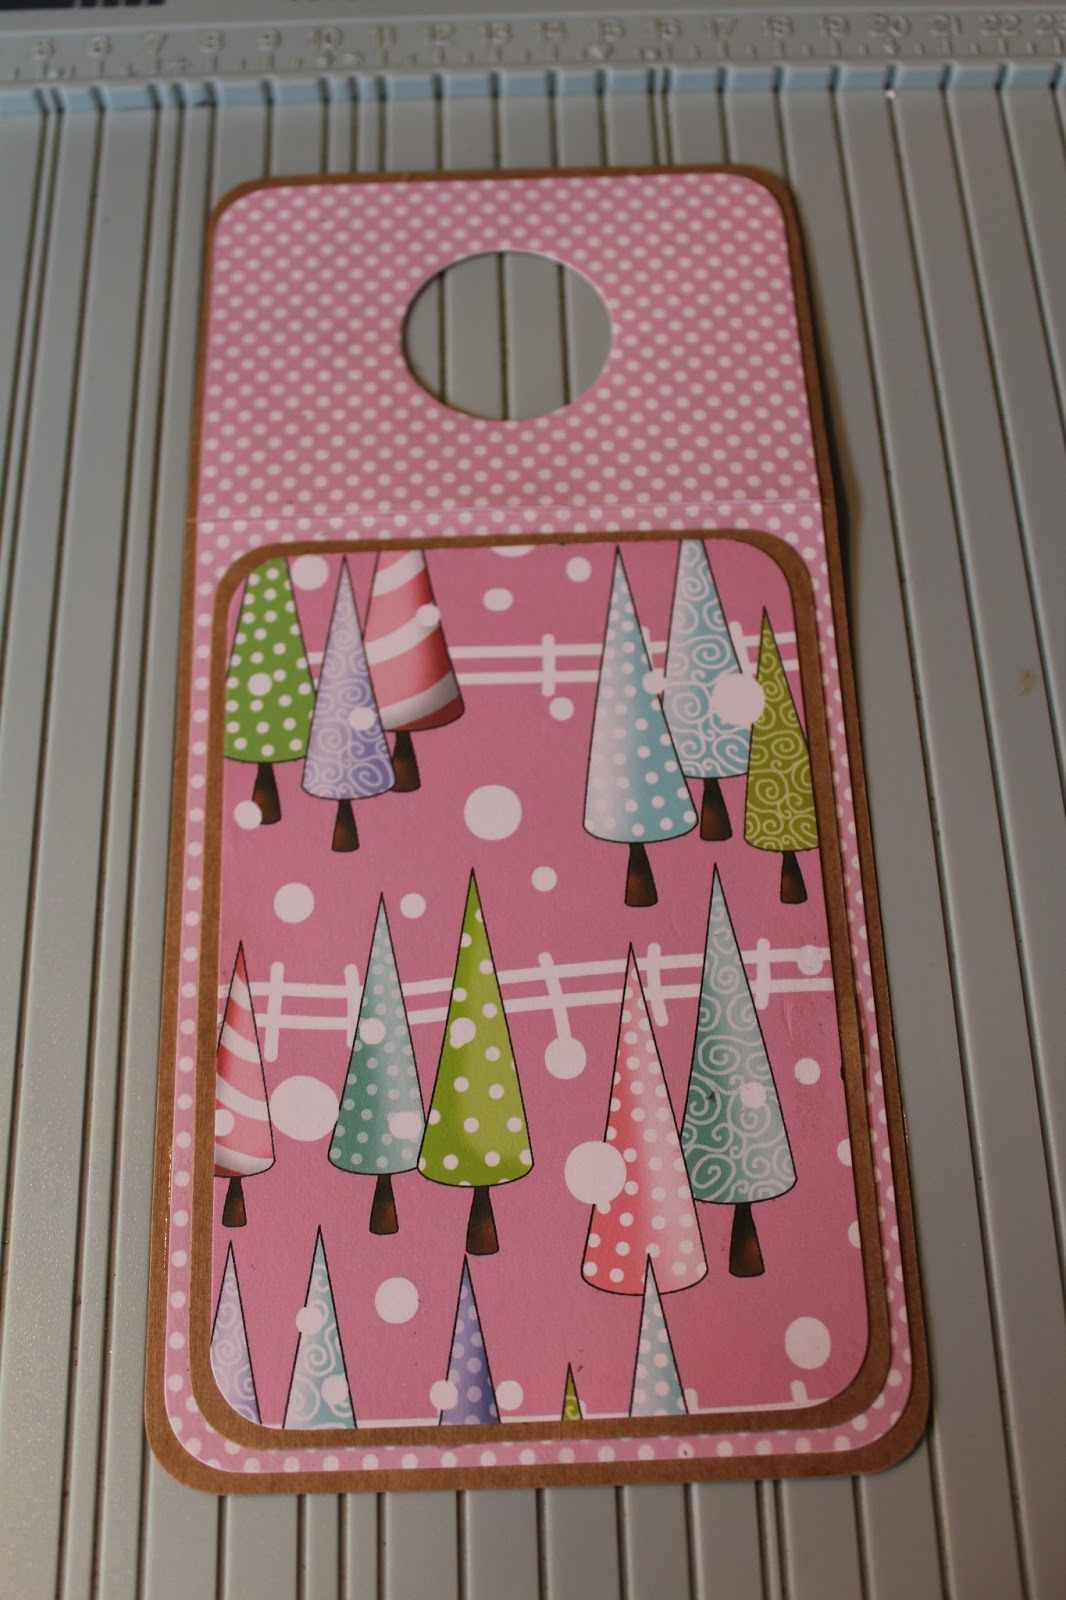
Cut the Kraft card to 10 x 21 cm and your background paper to 9.5 x 20.5 cm. Round the corners and glue together. Place on your score board and score at 7 cm.
. Turn over and find and mark the centre of the top panel. Slide the punch over the card placing the + in the centre of the punch and punch out the circle.
Cut out another piece of Kraft card to 9 x 13 cm and a piece of coordinating paper to 8.5 x 12.5 cm. Round the corners and glue together. Mat this onto the bottom panel.
Cut out the topper you made in word earlier and put 3D foam onto the back and mount onto the bottom panel.
If you have a scalloped circle or a larger circle punch you can strengthen the the punched circle at the top. To do this punch out a hole using the circle punch you used before, then place the next punch over this lining it up and punch out.
Then glue this into place around the the hole at the top.
Now you have a lovely centre piece for your Christmas table.