SCWA

Powered by FundRazr

Pages

Followers

Showing posts with label Kraft Card. Show all posts

Thursday, 12 January 2017

Say hello to Helga!

Good morning blogland. I have something very exciting to share with you today. The boss lady at Polkadoodles, Nikky Hall, has been slaving away to bring us another new release and today is the day we get to share it with you. We are all so excited about this and we hope you are too.
So this is a little bit different and we hope will fill a gap that isn't out there yet. 
So please say hello and welcome Helga to the Polkadoodles family.


Eeeeekkk how cute is she!!!!

You can find all things Helga HERE
And If you're quick you can use the code HELGA to get 15% off for a limited time, how fabulous is that!
For this card I have used an 8x8 Kraft card blank. The mats are done with a cream card and more Kraft card. I chose this as I think it goes so well with the stunning pink backing papers from the collection. All the embellies are from the collection as well, and I have coloured Helga on this one with my Copic pens.
If you want to see more the team will be sharing their makes over on Facebook over the next 4 days, so come and join us in our Polkadoodles and Digi Choosday pages. They will also be shared on our colouring page if they have a coloured image on them. So see you over there, and I'll be back tomorrow with my next make.

Tuesday, 3 May 2016

Use some Kraft Card

Good morning and Happy Choosday everyone, yes it's
again already. And I'm a year older, where does the time go, this time next year I'll be 50, wow, I swear it's only a couple of years since I was 21 lol
Anyhoo, onto today's challenge from the Digi Choosday blog. This week we challenge you to use some Kraft card. Now if you are a regular follower of mine you will know I love Kraft card and use it a lot. So this seemed the perfect challenge for me to do a tutorial. I'm going to show you how to extend a border die, and show you how I put the whole card together. So this post if picture heavy so you may want to grab a cuppa while you're looking and reading.
This is what I am going to show you how to make.

So to start with choose what you are going to use on your card, so your image, your papers and card layers. Use your border die on the piece of card you want it on. As you can see the die isn't long enough for what I want so I need to extend it.
 To do this I lay the die on it's back and slide the card over it until I feel it "lock" into the design.
 Carefully hold in place, turn over and tape into place so it doesn't slip in the die cutter.
 Run through your machine and there you have it, it's as easy as that. If you don't want to ruin your piece of card if it's the first time you're trying this, try it with copier paper a few times first.
Then stick down your designer paper leaving the border showing.
 So now I have all the layers I need, the extended border piece and my coloured image. The cute image is Smile from the adorable Sticks and Bones collection. You can get the image HERE on her own, or you can get the full collection HERE.
 Because I'm using Kraft card I decided it also called for some distressing of the papers. You can use whatever you like to do this with, you can use a metal file or an emery paper one.
 Here are all the edges distressed.
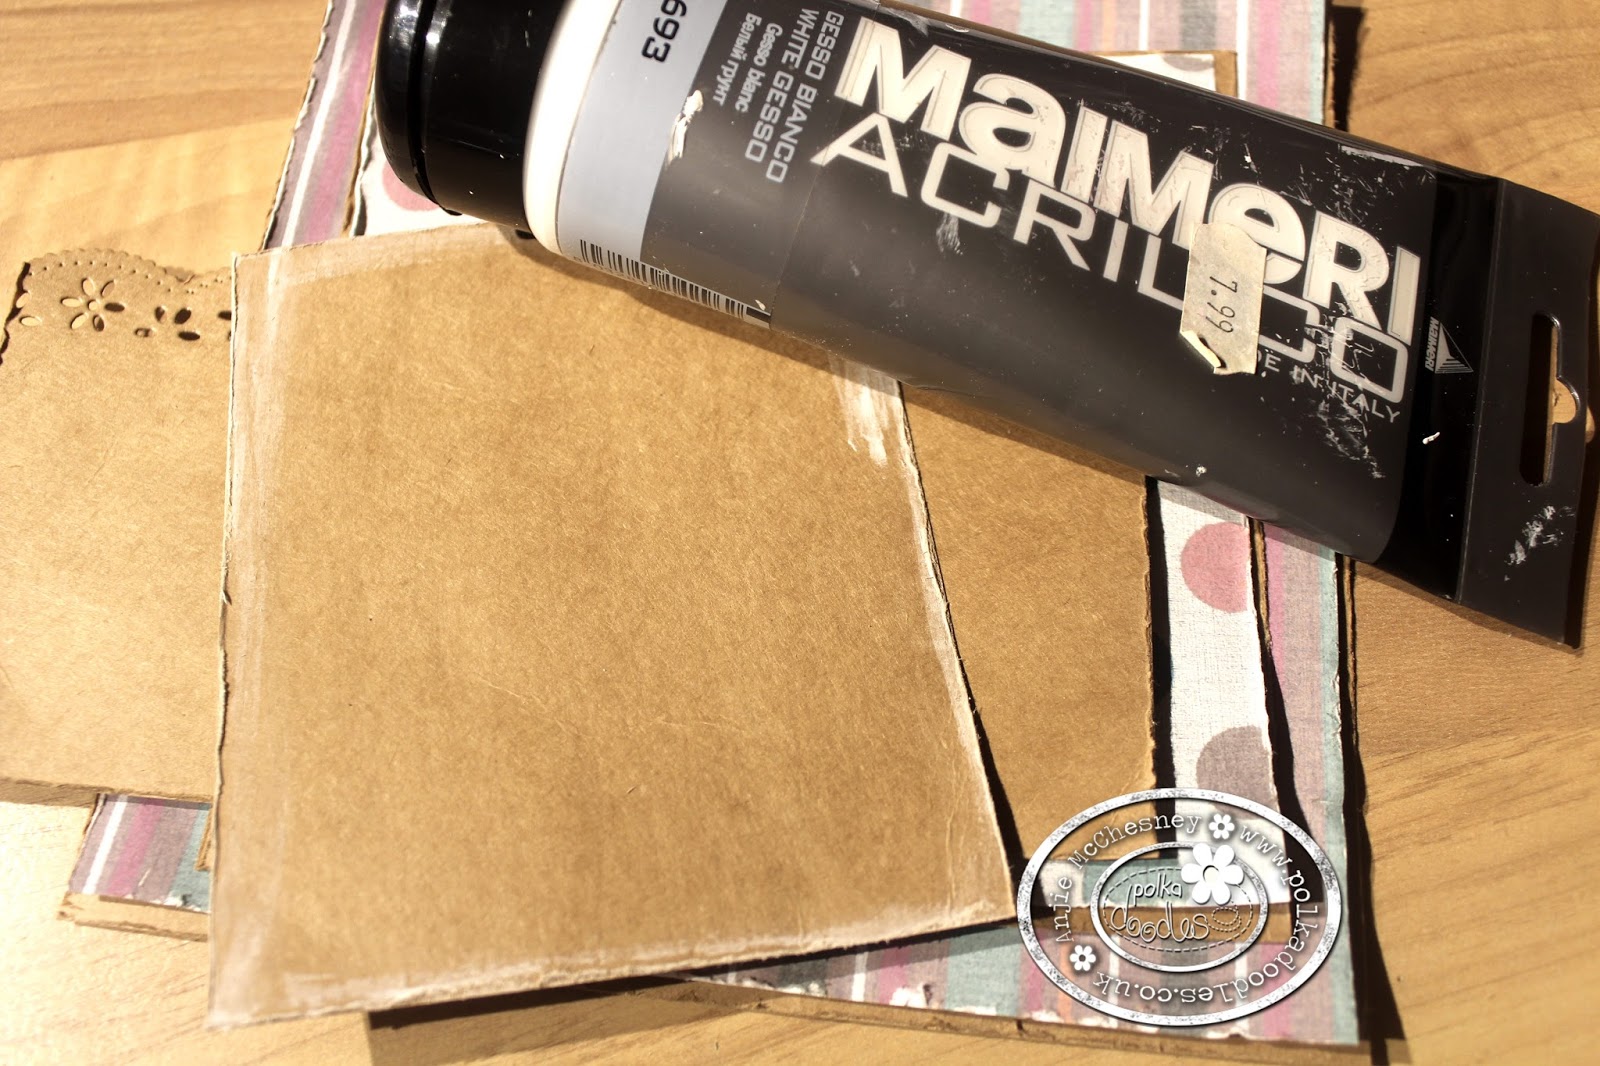
 I wanted the give them a more aged look as well so instead of the usual distress inks I decided to use some Gesso. I just put a bit on my finger and rubbed it around the edges of all the card and paper layers.
 If you don't like getting messy you can use a brush if you like.
 Then with a fine liner pen I added my usual scribbled lines around everything. Something else I love and have done for years lol
Then stick everything in place and you have your card.
I have added a few die cuts, a message, some pearls, some lace and some raffia tied in a bow to finish it off.